Fluid美化
fluid美化
准备
- 在博客主目录下source的文件夹下创建一个js文件夹和css文件夹用来存放自定义页面css和js效果
- 大家可以先看看自己想要的评论插件,我这里使用twikoo,个人也比较推荐
- 效果就如本博客
首页文章滑入效果
在准备工作完成后,在source/css文件夹下创建一个scrollAnimation.css文件,source/js文件夹创建一个scrollAnimation.js效果,文件名可自定义
scrollAnimation.css代码如下:1
2
3
4
5
6
7
8
9
10.index-card {
transition: all 0.5s;
transform: scale(calc(1.5 - 0.5 * var(--state)));
opacity: var(--state);
margin-bottom: 2rem;
}
.index-img img {
margin: 20px 0;
}scrollAnimation.js代码如下:1
2
3
4
5
6
7
8
9
10
11
12
13
14
15
16
17
18
19
20
21
22
23
24
25
26
27
28
29
30const cards = document.querySelectorAll('.index-card')
if (cards.length) {
document.querySelector('.row').setAttribute('style', 'overflow: hidden;')
const coefficient = document.documentElement.clientWidth > 768 ? .5 : .3
const origin = document.documentElement.clientHeight - cards[0].getBoundingClientRect().height * coefficient
function throttle(fn, wait) {
let timer = null;
return function () {
const context = this;
const args = arguments;
if (!timer) {
timer = setTimeout(function () {
fn.apply(context, args);
timer = null;
}, wait)
}
}
}
function handle() {
cards.forEach(card => {
card.setAttribute('style', `--state: ${(card.getBoundingClientRect().top - origin) < 0 ? 1 : 0};`)
})
console.log(1)
}
document.addEventListener("scroll", throttle(handle, 100));
}如果是npm下载的fluid主题在_config.fluid.yml里的的custom_js和custom_css里添加刚刚自定义的css和js相对路径,如果是clone源码下载的,去主题文件夹下的_config.yml配置即可
1
2
3
4
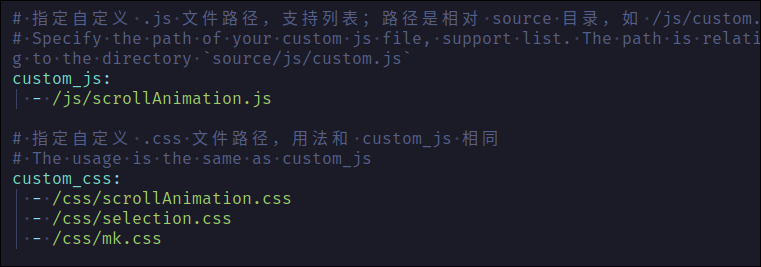
5custom_js:
- /js/scrollAnimation.js
custom_css:
- /css/scrollAnimation.css配置文件如下图:
然后保存,hexo g&&hexo d提交后即可生效,具体效果在本博客首页下滑文章即可看到
各级标题以及引用修改
在source/css下创建一个mk.css文件,文件名也是自定义的
mk.css文件如下图:1
2
3
4
5
6
7
8
9
10
11
12
13
14
15
16
17
18
19
20
21
22
23
24
25
26
27
28
29
30
31
32
33
34
35
36
37
38
39
40
41
42
43
44
45
46
47
48
49
50
51
52
53
54
55
56
57
58
59
60
61
62
63
64
65
66
67
68
69
70
71
72
73
74
75
76
77
78
79
80
81
82
83
84
85
86
87
88
89
90
91
92
93
94
95
96
97
98
99
100
101
102
103
104
105
106
107
108
109
110
111
112
113
114
115
116
117
118
119
120
121
122
123
124
125
126
127
128
129
130
131
132
133
134
135
136
137
138
139
140
141
142
143
144
145
146
147
148
149
150
151
152
153
154
155
156
157
158:root {
--control-text-color: #777;
--select-text-bg-color: rgba(223, 197, 223); /*#7e66992e;*/
--search-select-bg-color: #8163bd;
/* side bar */
/* --side-bar-bg-color: #f7f7fb;
--active-file-text-color: #8163bd;
--active-file-bg-color: #e9e4f0;
--item-hover-bg-color: #e9e4f0;
--active-file-border-color: #8163bd; */
--title-color: #6c549c;
/* --blur-text-color: #c8c8c8; */
--text-color:/* #5e676d */ #333333 /* #2c3e50 */ /* #34495e */;
--light-text-color: #414141;
--font-sans-serif: "Ubuntu", "Source Sans Pro", sans-serif !important;
--font-monospace: "Fira Code", "Roboto Mono", monospace !important;
--purple-1: #8163bd;
--purple-2: #79589f;
--purple-3: #fd5eb8;
--purple-4: #bb60d5;
--purple-light-1: rgba(99, 99, 172, 0.05);
--purple-light-2: rgba(99, 99, 172, 0.1);
--purple-light-3: rgba(99, 99, 172, 0.2);
--purple-light-4: rgba(129, 99, 189, 0.3);
--purple-light-5: #e9e4f0;
--purple-light-6: rgba(129, 99, 189, 0.7);
--purple-light-7: rgba(129, 99, 189, 0.3);
--shadow: var(--purple-light-3) 0px 5px 10px;
--fence-border: #e7eaed;
--table-border: rgb(143, 143, 143);
--boxes: rgba(10, 10, 10, 0.05);
}
.markdown-body h1, .markdown-body h2 {
border-bottom: none;
}
.markdown-body > h1,
.markdown-body h2,
.markdown-body h3,
.markdown-body h4,
.markdown-body h5,
.markdown-body h6 {
position: relative;
margin-top: 3.5em;
font-weight: normal;
cursor: text;
color: #6c549c;
}
h1 tt,
h1 code {
font-size: inherit !important;
}
h2 tt,
h2 code {
font-size: inherit !important;
}
h3 tt,
h3 code {
font-size: inherit !important;
}
h4 tt,
h4 code {
font-size: inherit !important;
}
h5 tt,
h5 code {
font-size: inherit !important;
}
h6 tt,
h6 code {
font-size: inherit !important;
}
h1 {
padding-bottom: 0.4rem;
font-size: 2.2rem;
line-height: 1.3;
}
h1 {
text-align: center;
padding-bottom: 0.3em;
font-size: 2.2em;
line-height: 1.2;
margin: 1.6em auto 1em;
}
h1:after {
content: "";
display: block;
margin: 0.2em auto 0;
width: 100px;
height: 2px;
border-bottom: 2px solid var(--title-color);
}
h2 {
/* margin: 1.4em auto 0.8em; */
/* padding-left: 5px; */
/* line-height: 1.0; */
font-size: 1.8em;
/* border-left: 5px solid var(--title-color); */
/* border-bottom: 1px solid var(--title-color); */
}
h3 {
font-size: 1.5rem;
margin: 1.2em auto 0.5em;
}
h4 {
font-size: 1.3rem;
}
h5 {
font-size: 1.2rem;
}
h6 {
font-size: 1.1rem;
}
/* 引用 */
.markdown-body blockquote {
border-left: 0.2rem solid var(--purple-light-4);
padding: 10px 15px;
color: var(--light-text-color);
background-color: var(--purple-light-1);
}
.markdown-body code {
padding: 2px 4px;
border-radius: 2px;
font-size: 0.92rem;
/* color: var(--purple-3); */
background-color: var(--purple-light-1);
}
.markdown-body code {
margin: 0 2px;
}
.markdown-body pre {
--select-text-bg-color: rgba(223, 197, 223) !important;
}同样在主题的配置文件_config.fliud.yml或是主题文件夹下的_config.yml下配置
1
2
custom_css:
- /css/mk.css在主题的配置文件_config.fliud.yml或是主题文件夹下的_config.yml中修改各级标题字体颜色
1
2
3
4
# 文章正文字体色(h1 h2 h3...)
# Color of Article heading (h1 h2 h3...)
post_heading_color: "#6c549c"
post_heading_color_dark: "#05c4b9"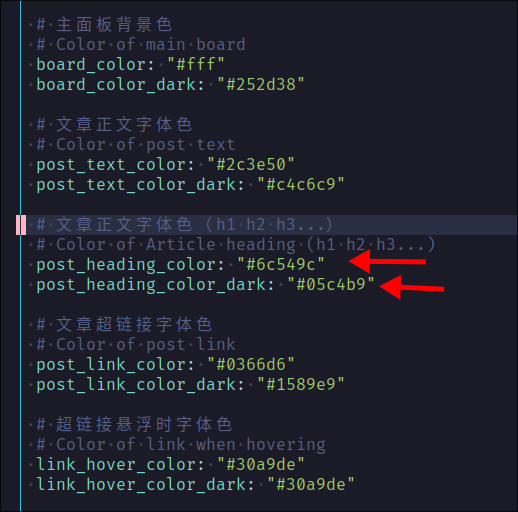
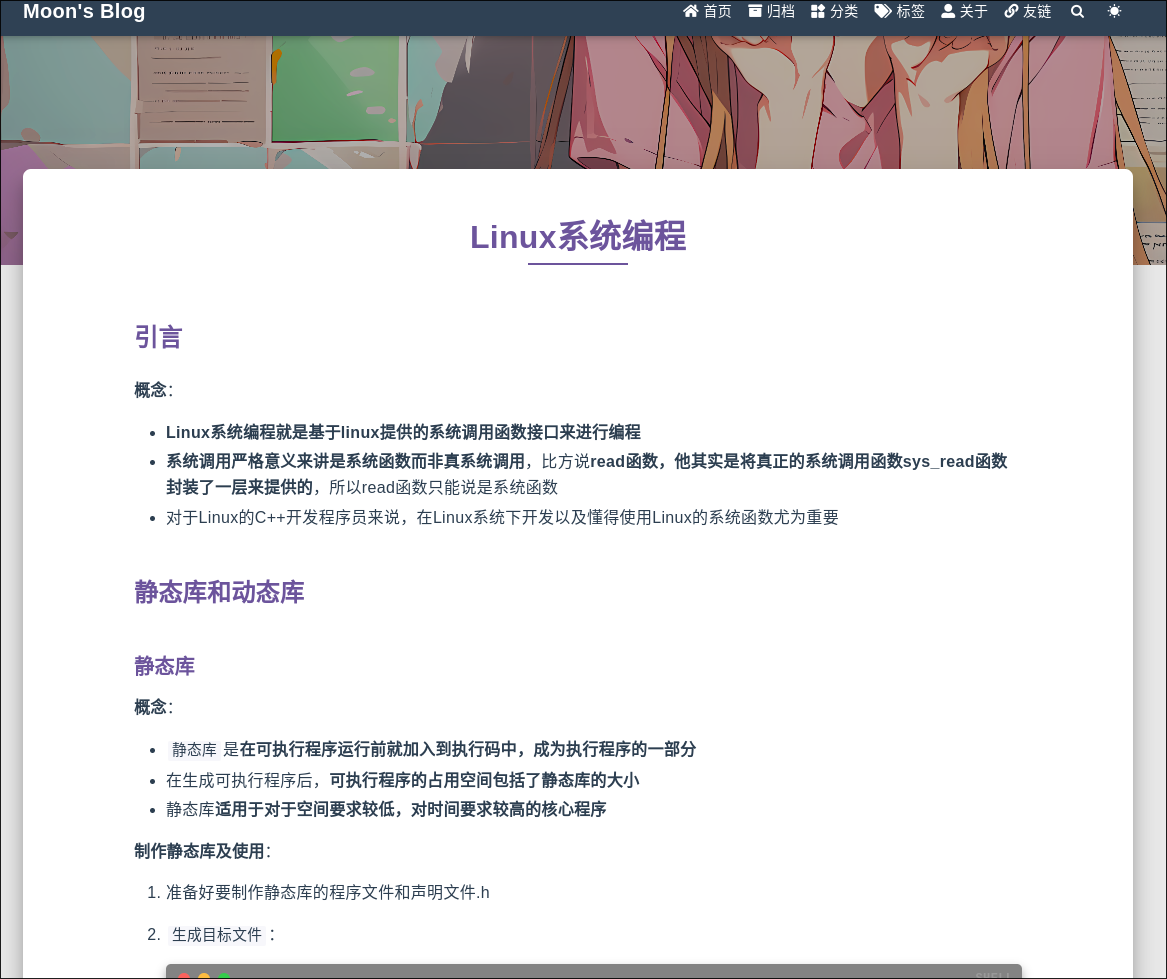
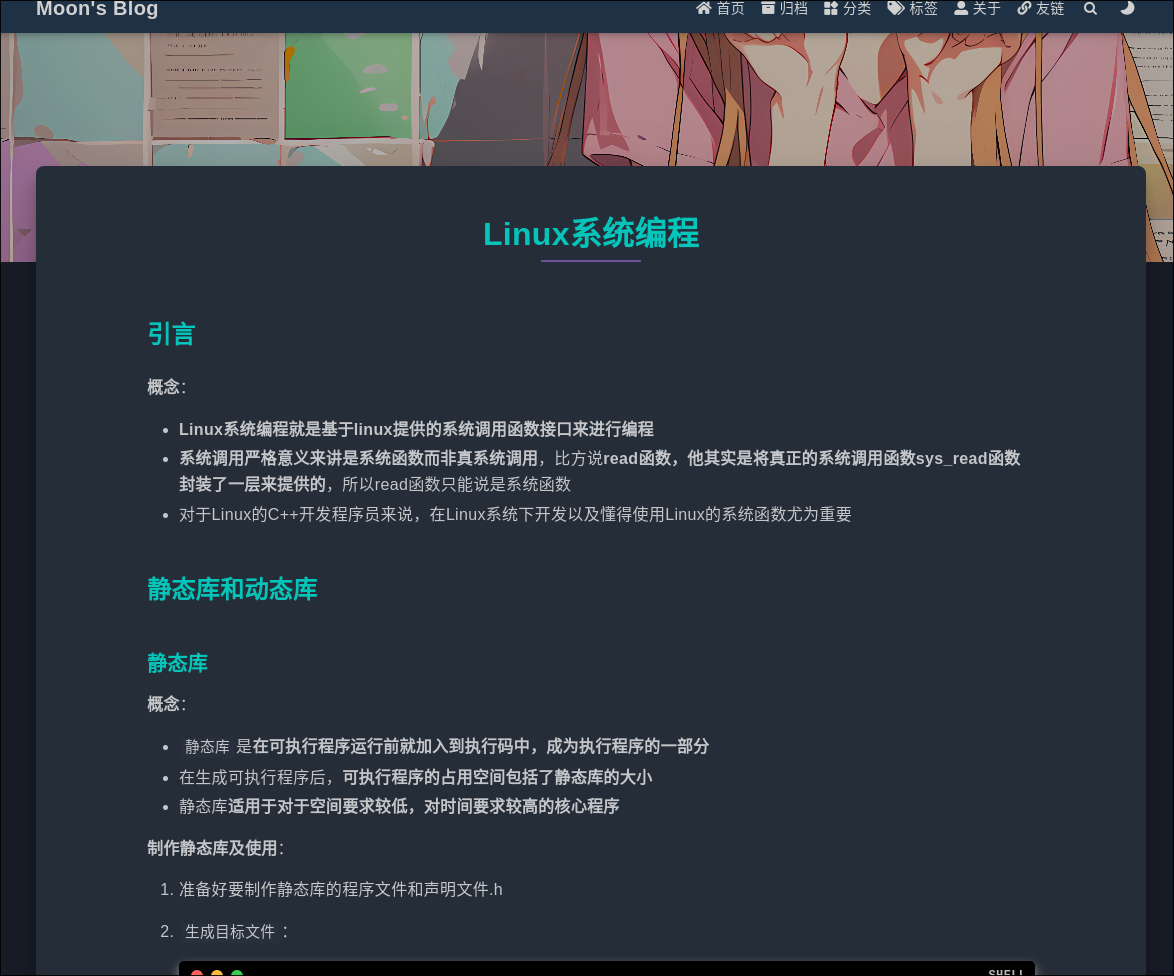
然后具体效果如下图:
光标选择修改
在source/css下创建selection.css文件
selection.css代码如下:1
2
3
4
5
6
7
8
9
10
11
12
13
14
15
16
17
18
19::selection {
background: #ffffff00;
color: #05c5b9;
}
.icon {
vertical-align: -0.15em;
fill: currentColor;
overflow: hidden;
}
pre::selection, pre ::selection {
background: #fff;
}
[data-user-color-scheme='dark'] pre::selection, [data-user-color-scheme='dark'] pre ::selection {
background: #424858;
color: #fff;
}同样在主题的配置文件_config.fliud.yml或是主题文件夹下的_config.yml下配置
1
2
custom_css:
- /css/selection.css效果如下图所示
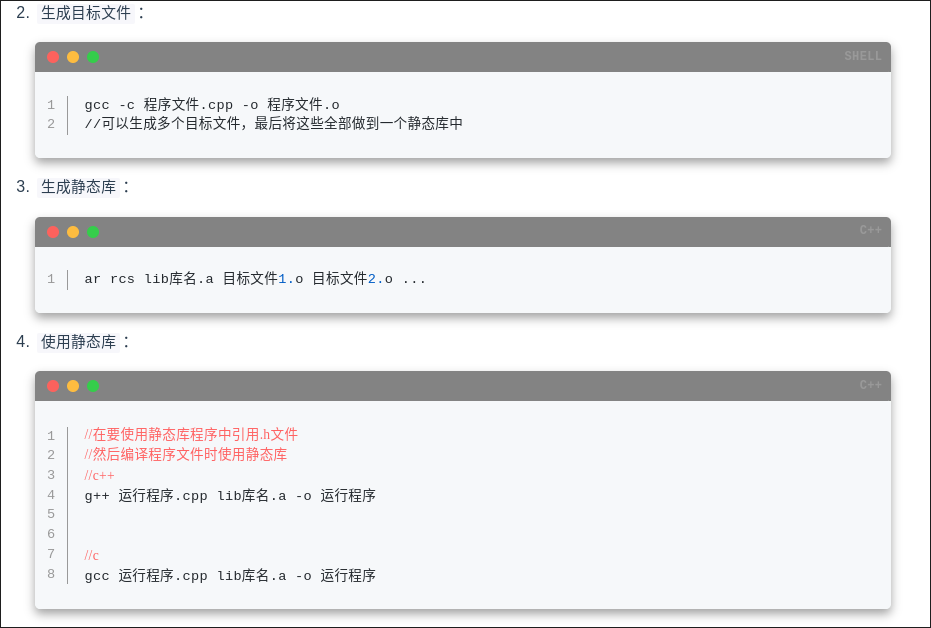
代码块mac风
也可以在selection.css文件后加,也可以另在source/css文件夹下创建css文件,我这里是直接放到selection.css文件里的
以下为
修改代码块的代码,可以将其复制在selection.css的后面:1
2
3
4
5
6
7
8
9
10
11
12
13
14
15
16
17
18
19
20
21
22
23
24
25
26
27
28
29
30
31
32
33
34
35
36
37
38
39
40
41
42
43
44
45
46
47
48
49
50
51
52
53
54
55
56
57
58
59
60
61
62
63
64
65
66
67.hljs-comment, .hljs-quote {
color: #ff6262;
font-family: auto;
font-style: normal;
}
figure.highlight {
background: #838383;
border-radius: 5px;
padding-top: 30px;
box-shadow: 0 5px 10px #a1a1a1;
}
[data-user-color-scheme='dark'] figure.highlight {
background: #000;
}
/* 该伪元素用于展示代码语言,若不需要可删除 */
figure.highlight::before {
content: attr(data-type);
z-index: 999;
color: #ff8d33;
display: block;
width: 100%;
position: absolute;
top: 2px;
text-align: center;
font-weight: 600;
}
figure.highlight::after {
background: #fc625d;
border-radius: 100%;
box-shadow: 20px 0 #fdbc40, 40px 0 #35cd4b;
content: '';
height: 12px;
width: 12px;
position: absolute;
top: 9px;
left: 12px;
}
.hljs {
background-color: #00000000;
}
/* 代码块颜色 */
figure.highlight tr {
background-color: #f9fffa;
}
[data-user-color-scheme='dark'] .markdown-body table tr {
background-color: #25272d;
}
figure.highlight > table {
border-radius: 0 0 5px 5px;
}
.gutter {
background-color: #f9fffa;
}
[data-user-color-scheme='dark'] .gutter {
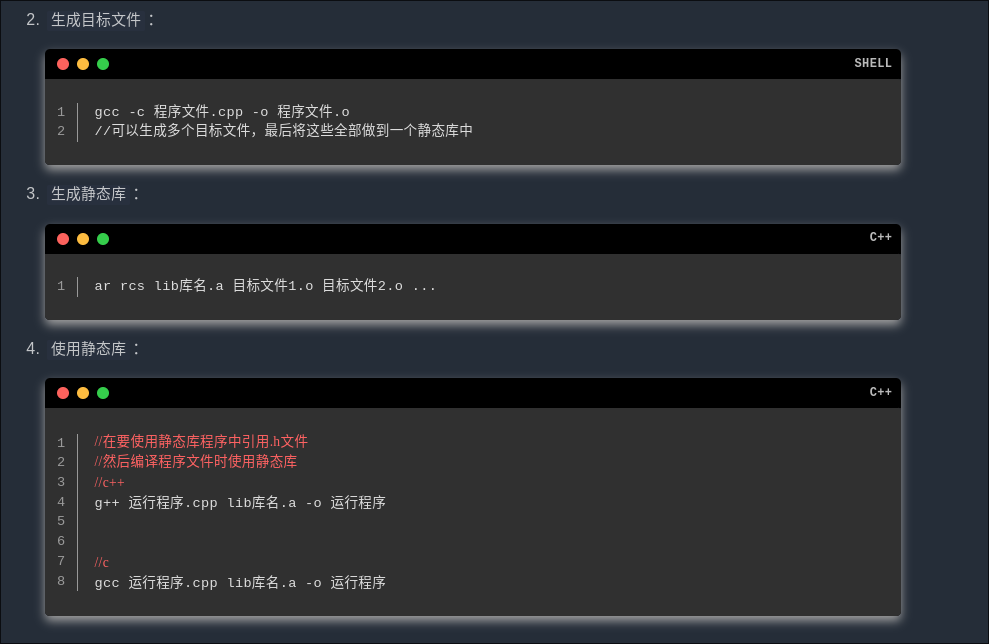
background-color: #25272d;
}效果如下图
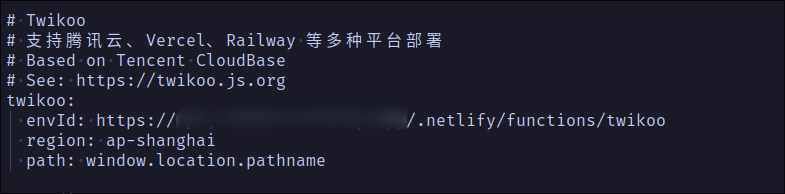
twikoo评论配置
根据以下twikoo的配置指南,我们需要选择云函数配置然后找到netlify的配置,按照指南进行配置
hexo+fluid配置
在主题配置文件_config.fluid.yml或者主题文件夹下的_config.yml下的comments下指定评论插件为twikoo

然后到对应的twikoo插件配置地方进行配置
配置好,进行上传部署
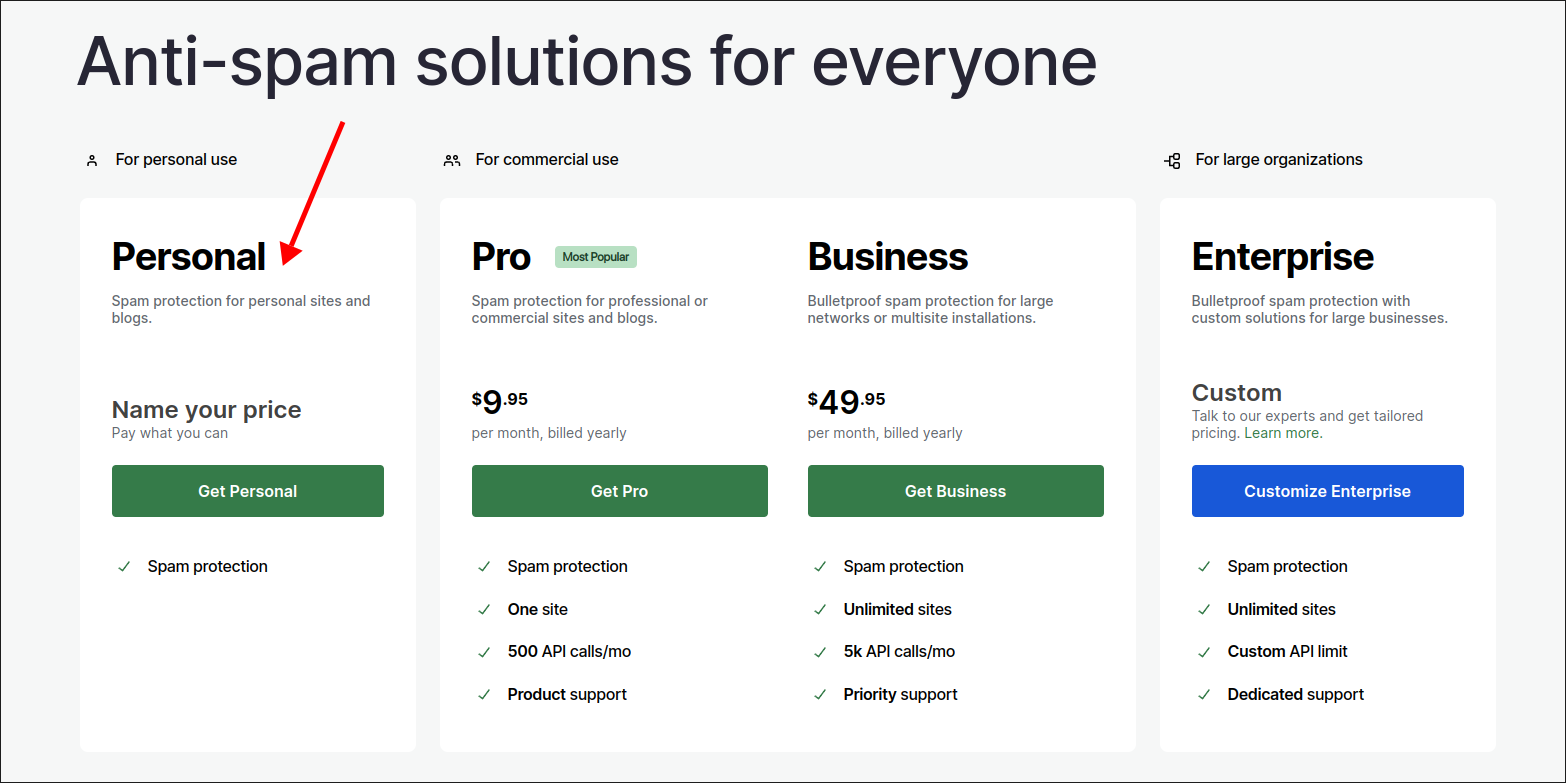
垃圾评论检测
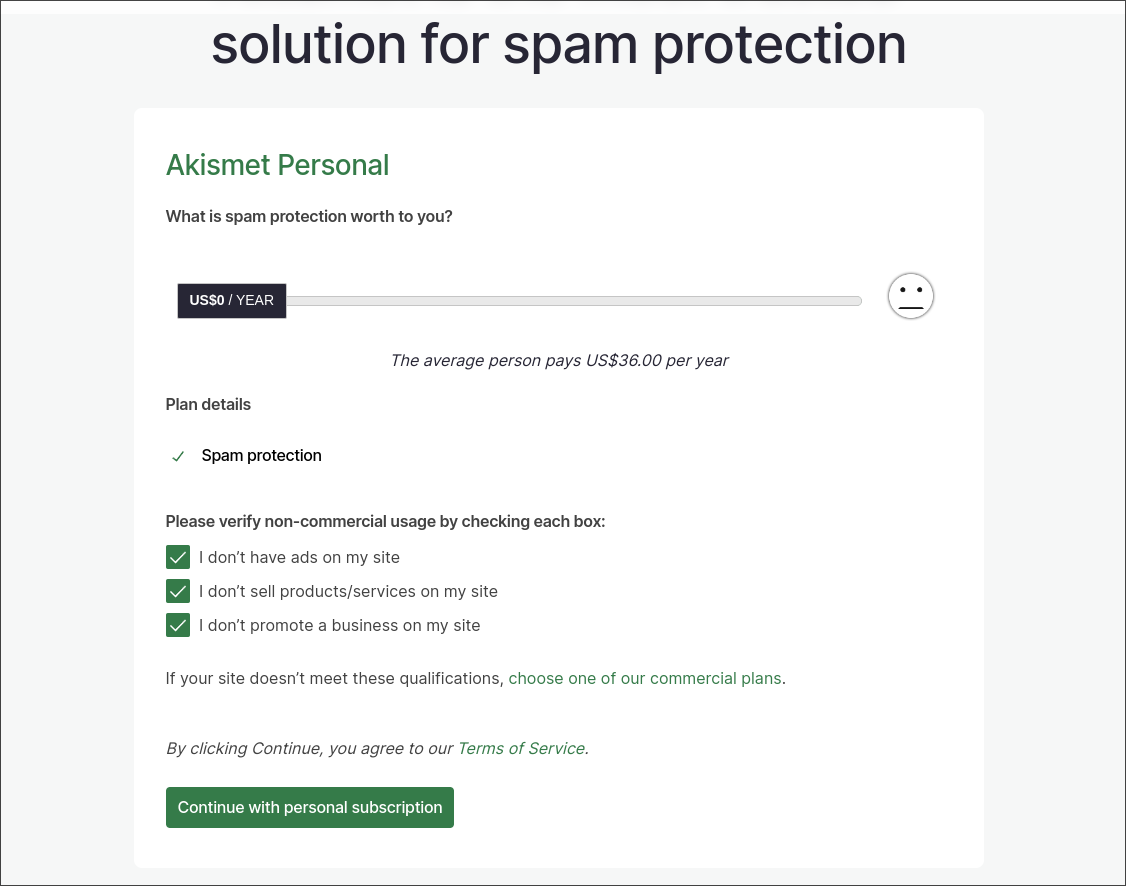
在Akismet中点击get start选择Personal套餐
然后将钱拉到0元即可免费使用,然后点击continue后,注册好用户,你会得到一个api key
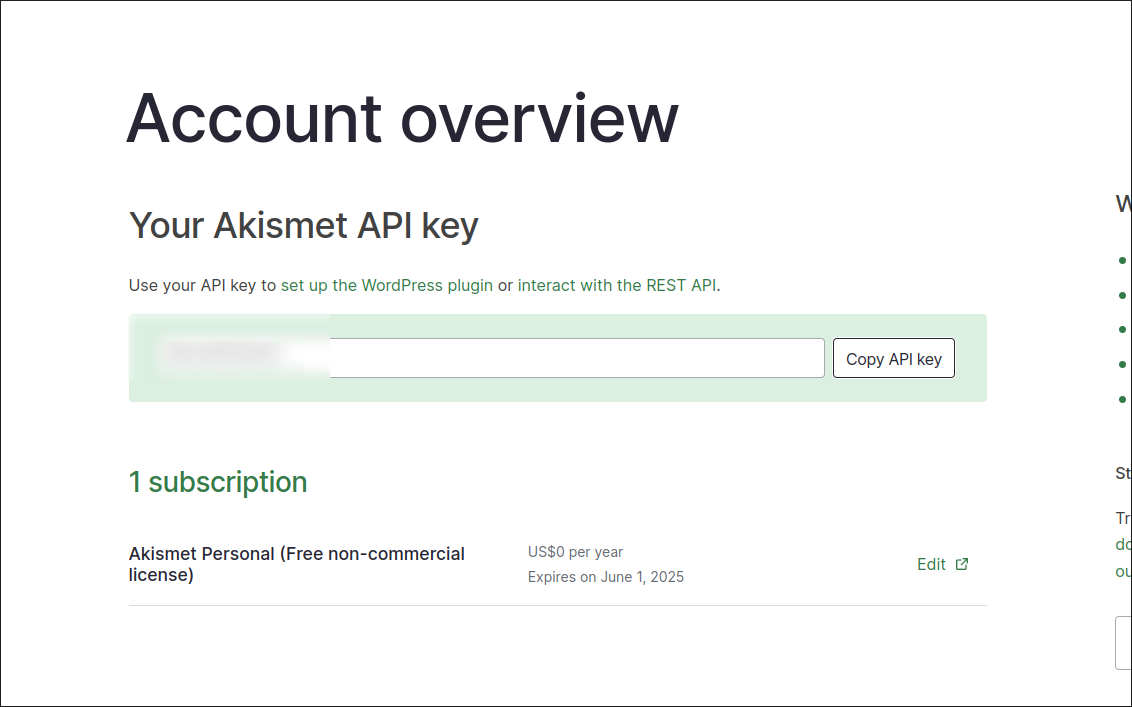
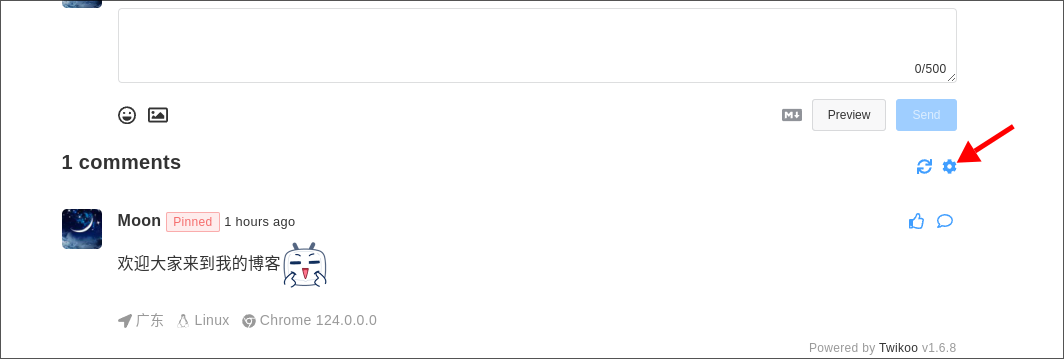
然后到你博客评论设置面板中,点击下图按钮,创建你的管理员密码,进去找到Spam分类下的AKISMET_KEY输入你刚刚复制的api
微信提醒
先去Server酱中登陆你的微信得到api key
到你博客评论设置面板中,点击下图按钮,进去找到Instant notification中下的PUSHOO_CH输入serverchan
PUSHOO_TOKEN填入刚刚得到的api,如下图
